Ultimate Guide to **Shower Plumbing Installation**
When it comes to home improvement projects, few elements enhance both the comfort and functionality of your bathroom like a well-installed shower. This comprehensive guide covers everything about shower plumbing installation, ensuring you have the knowledge and expertise to either carry out the installation yourself or hire the right professionals. If you're considering upgrading or installing a shower, understanding the underlying plumbing is crucial.
Understanding Shower Plumbing Installation
Shower plumbing installation refers to the process of setting up the piping and fixtures that supply water to your shower. This process includes laying out the plumbing system and ensuring all components work together effectively. Proper installation not only enhances water flow but also prevents leaks and other plumbing issues in the future.
Key Components Required for Shower Plumbing Installation
- Shower Valve: Controls water flow and temperature.
- Showerhead: Dispenses water from above.
- Pipes: Directs water from the source to the shower.
- Drain Assembly: Addresses the waste water flow.
- Shower Pan: Creates a waterproof base for the shower.
- Fittings: Connect different pieces of pipe and fixtures.
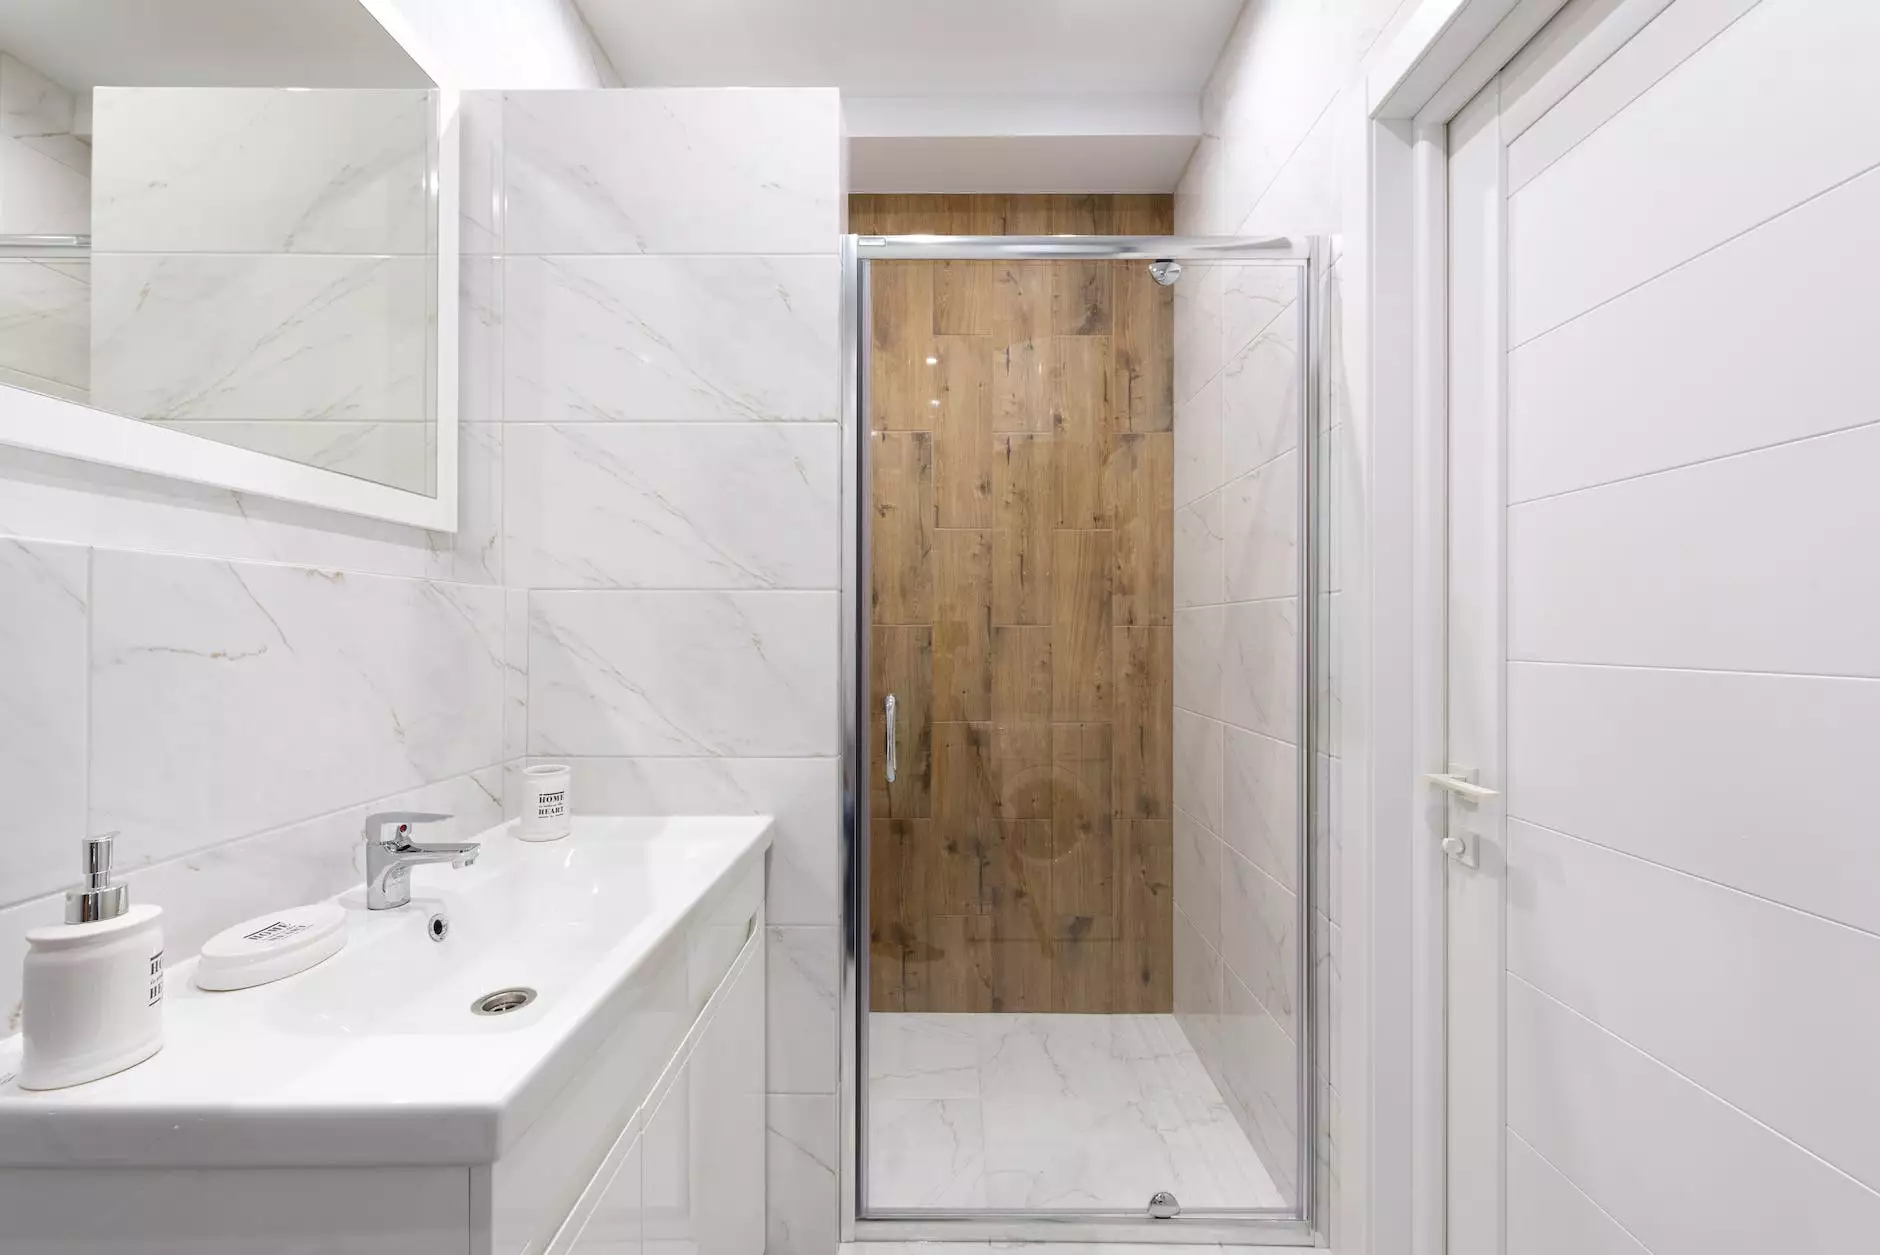
Types of Showers to Consider
Before diving into the installation process, it’s essential to determine what type of shower fits your needs. Here are a few options:
- Walk-in Showers: These require more extensive plumbing work but offer spaciousness and easy access.
- Shower/Tub Combos: Great for smaller spaces, combining the function of both a shower and a tub.
- Custom Showers: Built to your specifications, offering the chance to select materials and layout.
Planning Your Shower Plumbing Installation
Before grabbing your tools, it's paramount to carefully plan your shower plumbing installation. A well-thought-out plan saves time and reduces errors during the installation process.
1. Assess the Current Plumbing Layout
First, take a close look at your existing plumbing. Is the current arrangement functional? Where will you position your shower drainage? Understanding the present layout helps you map out the most efficient installation path.
2. Measure Your Space
Accurate measurements are vital. Ensure you have the correct dimensions for all the fixtures you intend to install. This includes the space for the showerhead, valve, and door (if applicable). An error here can lead to costly adjustments later.
3. Select High-Quality Materials
Using the right materials is crucial for the longevity of your installation. Opt for corrosion-resistant pipes, durable valves, and reliable fixtures to ensure that your shower plumbing installation stands the test of time.
Steps for Shower Plumbing Installation
Now, let’s get into the detailed step-by-step process of installing your shower plumbing.
Step 1: Gather Your Tools and Materials
The following tools and materials will help ensure a successful installation:
- Pipe wrenches
- Adjustable pliers
- Pipe cutter
- Teflon tape
- Shower valve
- Showerhead
- Drain assembly
- PVC or copper pipes
Step 2: Shut off Water Supply
Before beginning any work, ensure that the water supply is completely shut off. This is essential to prevent any accidental flooding during the installation process.
Step 3: Install the Shower Valve
1. Locate the Installation Point: Find where you intend to place the shower valve on the wall. Ensure it's at a comfortable height.
2. Cut Open the Wall: Use a drywall saw to create an opening for the valve.
3. Connect the Valve: Follow the manufacturer's instructions to properly connect the valve to the existing plumbing lines.
Step 4: Attach Showerhead and Arm
Next, attach the shower arm to the valve and then secure the showerhead. Make sure to wrap Teflon tape around the threads to prevent leaks.
Step 5: Set Up the Drainage System
1. Install the Drain Assembly: Position the drain assembly at the bottom of the shower pan, ensuring a proper seal.
2. Connect the Pipes: Connect the drain to the existing drainage lines.
Step 6: Waterproof the Shower Pan
Place the shower pan in position, ensuring it slopes towards the drain for proper water flow. Seal any joints with silicone sealant for added waterproofing.
Step 7: Final Checks
Double-check all connections for leaks. Restore water supply gradually and test the water flow, adjusting temperature as necessary.
Why Hire Professionals for Shower Plumbing Installation?
While DIY enthusiasts may tackle shower plumbing installations, hiring professionals is advisable for several reasons:
- Expertise: Professionals have extensive knowledge and experience.
- Efficiency: They can complete the job faster and more accurately.
- Code Compliance: They ensure that the installation meets all local codes and regulations.
- Warranty: Professional work often comes with a guarantee, ensuring peace of mind.
Common Issues in Shower Plumbing Installation
Even with careful planning and execution, issues may arise during or after your shower plumbing installation. Here are some common challenges and solutions:
1. Leaks
Leaks can occur at any joint or connection. Regularly check your connections and use appropriate sealing techniques to prevent leaks.
2. Low Water Pressure
Low pressure can result from improper valve installation or blockages. Check valves, pipes, and connections to ensure everything is functioning correctly.
3. Temperature Fluctuations
Inconsistent water temperature may indicate problems with your valves. Ensure the valve is correctly installed and functioning, allowing balanced hot and cold water flows.
Maintenance Tips for Your Shower Plumbing
To keep your shower plumbing in top shape, consider the following maintenance tips:
- Regular Inspections: Periodically check for leaks or signs of wear.
- Clean Showerheads: Remove mineral buildup by soaking in vinegar.
- Check Water Pressure: Monitor for any changes and address issues promptly.
Conclusion
In conclusion, whether you take on a shower plumbing installation yourself or hire a professional, understanding the details is key to achieving a successful outcome. Always prioritize quality materials and safety procedures to enhance your shower's functionality and longevity. Utilizing the insights shared in this comprehensive guide will empower you to make informed decisions regarding your bathroom renovation. For your plumbing needs, consider reaching out to White Plumbing Company for expert services and advice.